
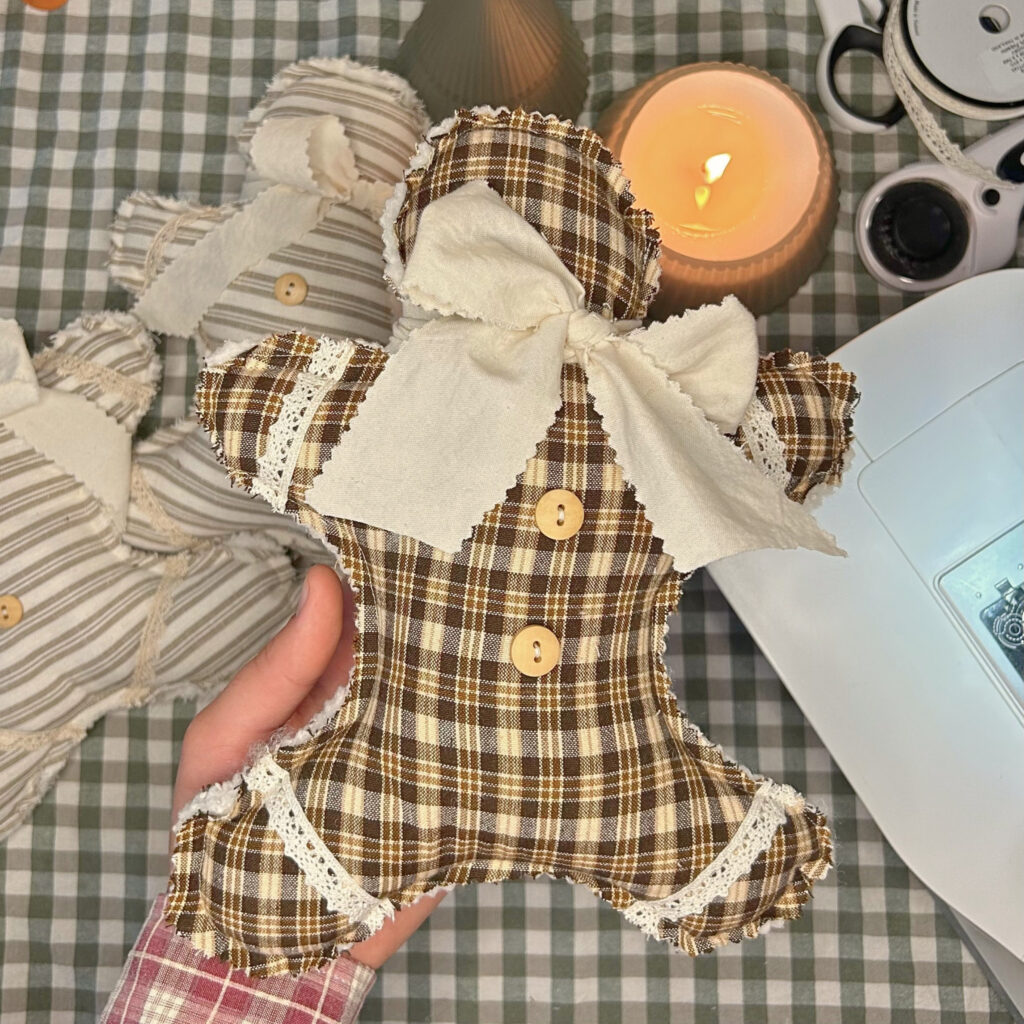
Are you looking for a fun holiday sewing project? This adorable handmade fabric gingerbread man is the perfect beginner friendly Christmas sewing project for you! In this sewing tutorial, I will show you how to sew a Christmas gingerbread man of your very own, just in time for Christmas. Keep him as an addition to your Christmas decor, or gift him to a friend or family member. Handmade gifts are always so special & appreciated! 🥰🎄🤎
Gather your supplies & let’s get started!
Supplies that you will need:
- Printed gingerbread man template
- Fabric of your choice (front and back)
- Batting
- 2 small buttons
- Lace trim
- Ribbon or a long strip of fabric for the bow
- Poly-fil stuffing
- Coordinating thread
- Sewing machine
- Hand-sewing needle
- Sewing pins
- Pinking shears (zigzag scissors)
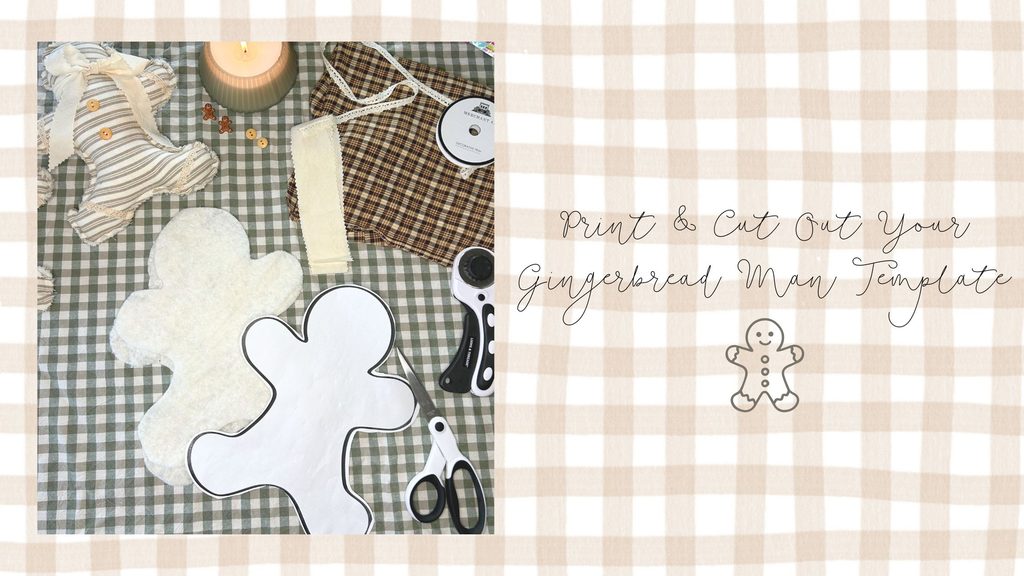
Step 1: Print & Cut Out Your Gingerbread Man Template
To begin, print out your gingerbread man template onto a piece of paper. Carefully cut around the outline to create your pattern.
Place your template on your chosen fabric and cut out two gingerbread man pieces: one for the front and one for the back.
Next, cut out two matching pieces of batting. I am using cotton batting from my local Hobby Lobby.
Step 2: Sew on the Buttons
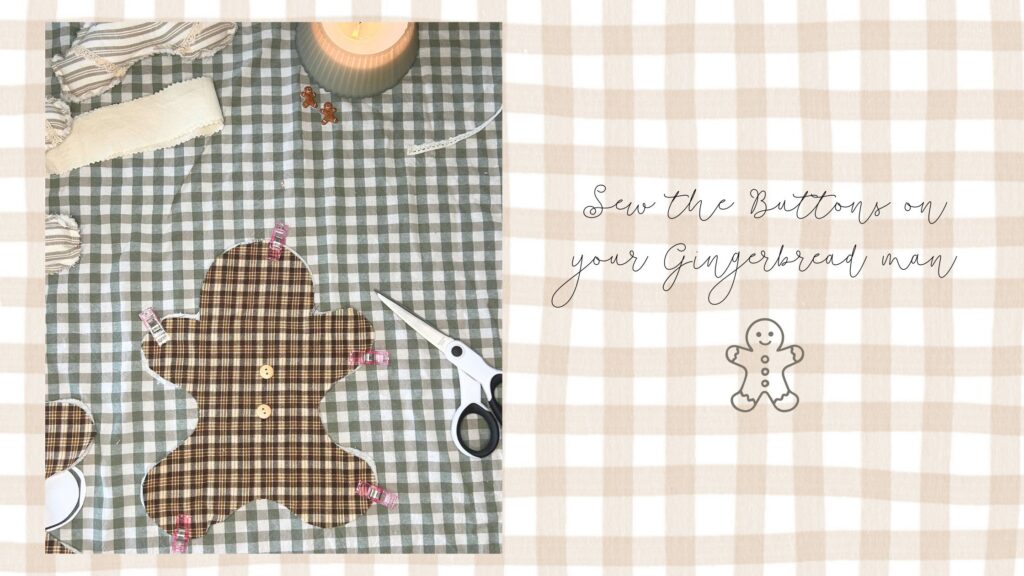
Take your front fabric piece and place it onto one piece of batting. Pin them together so that they stay in place. Then, decide where you would like your buttons to go.
Using a needle and thread, hand-sew two small buttons onto the front of your gingerbread man as seen in the photo below.
Step 3: Sew on the Lace Trim
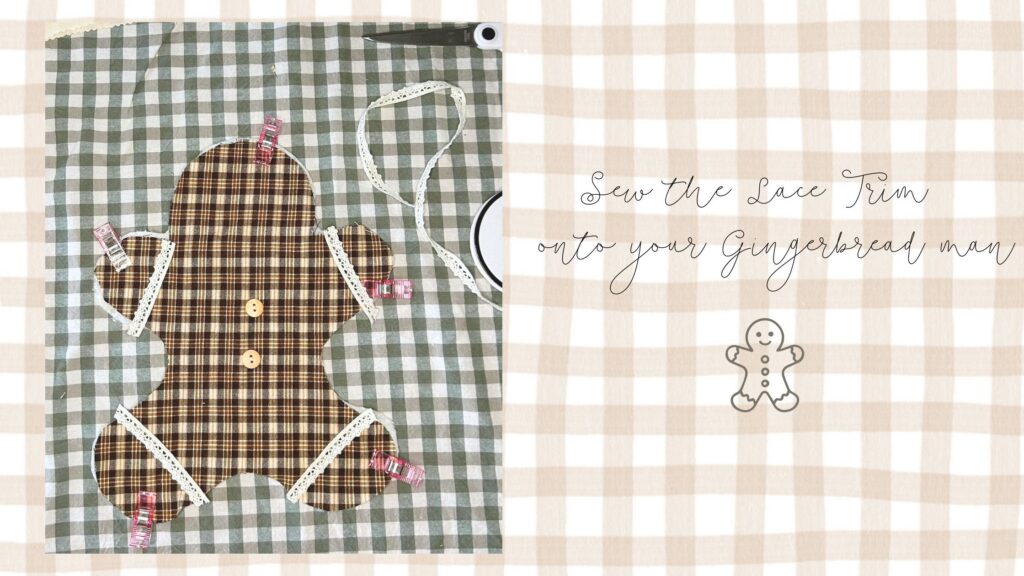
Cut small pieces of lace trim for the arms and legs of your gingerbread man.
Position the lace where you would like it to sit and use your sewing machine to carefully sew it onto the front fabric piece.
This little detail gives your gingerbread man the cutest cottage look!
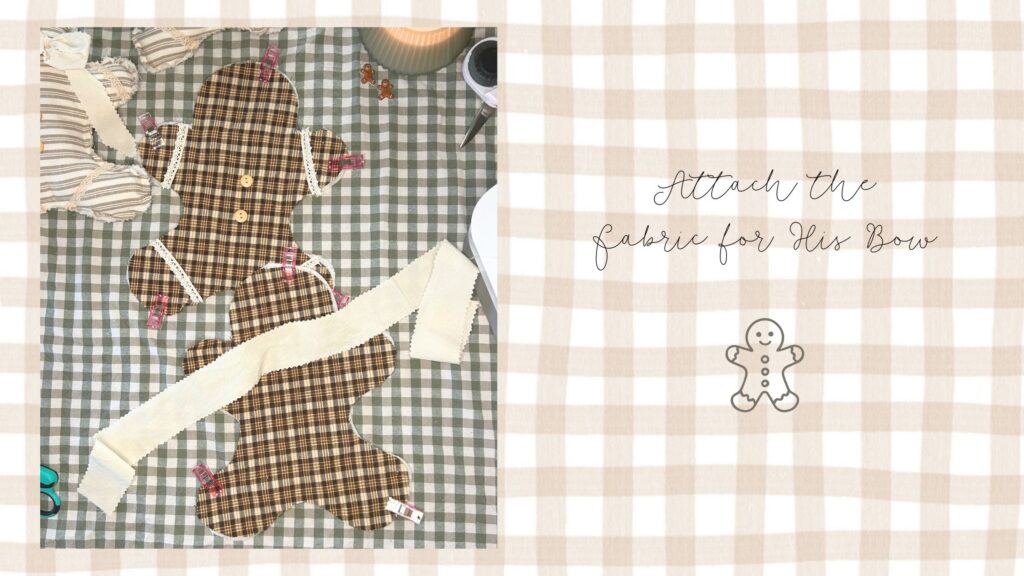
Step 4: Attach the Fabric for His Bow
Take a long strip of fabric and position it on the back piece of your gingerbread man. My fabric for the bow is around 1 1/2 inches wide and 2 feet long. Using your zigzag shears, cut the sides of the ribbon to prevent it from fraying.
Sew it securely in place so that the fabric is attached to the back and can be brought around to the front to create a bow once your gingerbread man is finished.
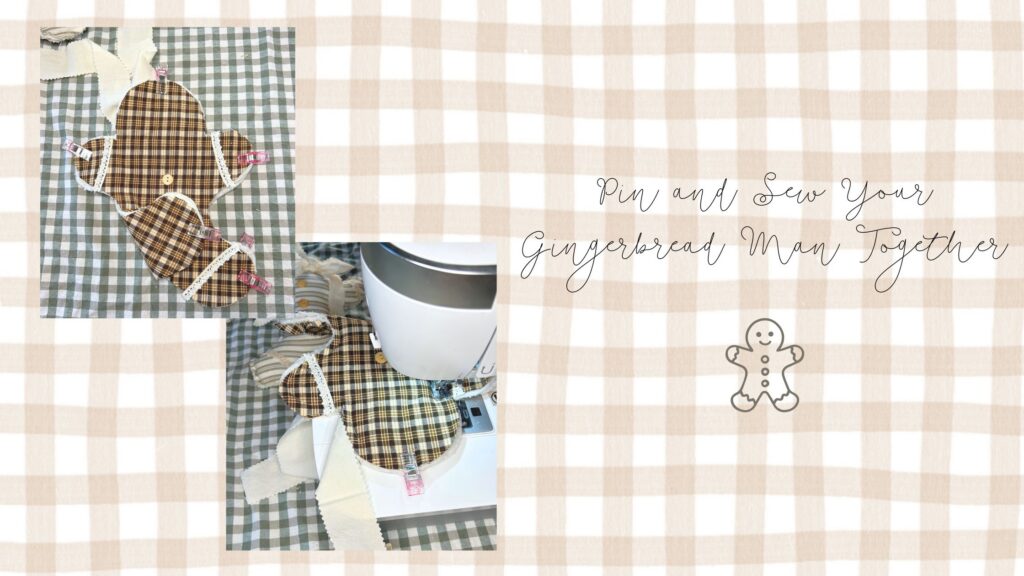
Step 5: Pin and Sew Your Gingerbread Man Together
Now it’s time to sew your gingerbread man together!
Secure all the layers together with sewing pins.
Using your sewing machine, sew around the entire outline of your gingerbread man, leaving a small opening on his head for stuffing. Be cautious not to catch the fabric bow as you are sewing.
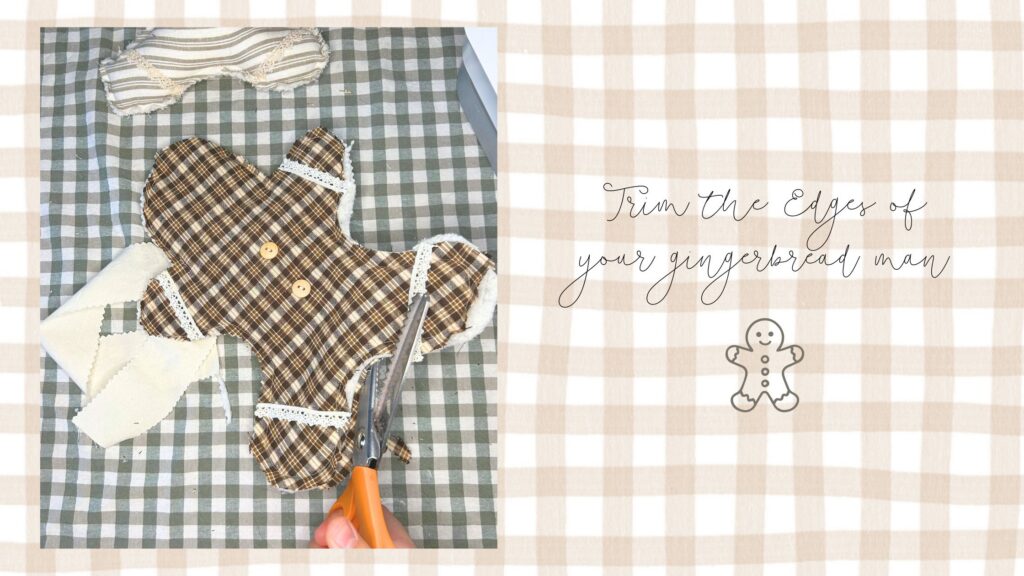
Step 6: Trim the Edges
Once you’ve finished sewing, take your pinking shears (zigzag scissors) and carefully trim around the edges of your gingerbread man.
This creates a pretty zigzag finish around the edges and keeps him from fraying. Be careful not to cut through your stitching.
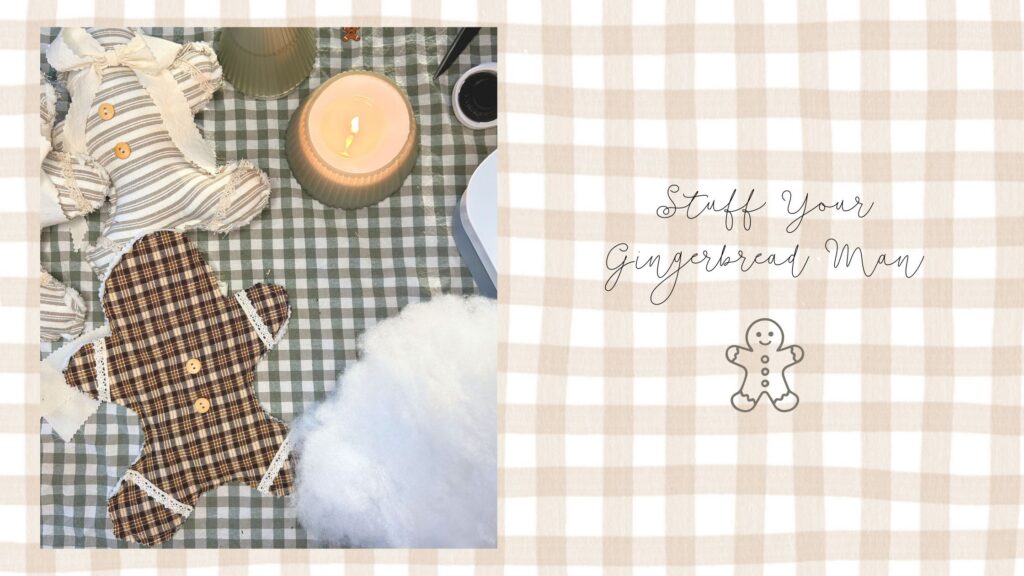
Step 7: Stuff Your Gingerbread Man
Now we will watch him come to life!
Through the opening you left, begin filling your gingerbread man with Poly-fil stuffing.
Add enough stuffing to give him a nice, full shape. Once you’re happy with how he looks, sew the opening closed.
Step 8: Tie The Gingerbread Man’s Bow!
Take the fabric strip attached to the back and bring it around to the front. Tie it into a pretty bow around your gingerbread man’s neck.
Adjust the loops until you’re happy with how it looks. Trim the edges if needed.
And that’s it! Your handmade Christmas gingerbread man is all finished, and he’s oh so cuddly! 🥰🎄🤎

The Perfect Handmade Christmas Gingerbread Man
I absolutely love how this Christmas Gingerbread man turned out. My favorite part about this sewing project is seeing how it comes to life after each little step! The buttons, lace trim, and bow give the gingerbread man so much festive charm.
I hope you enjoyed this step-by-step tutorial on how to sew the perfect Christmas gingerbread man! Now, you have a handmade gingerbread man that you can enjoy year after year!