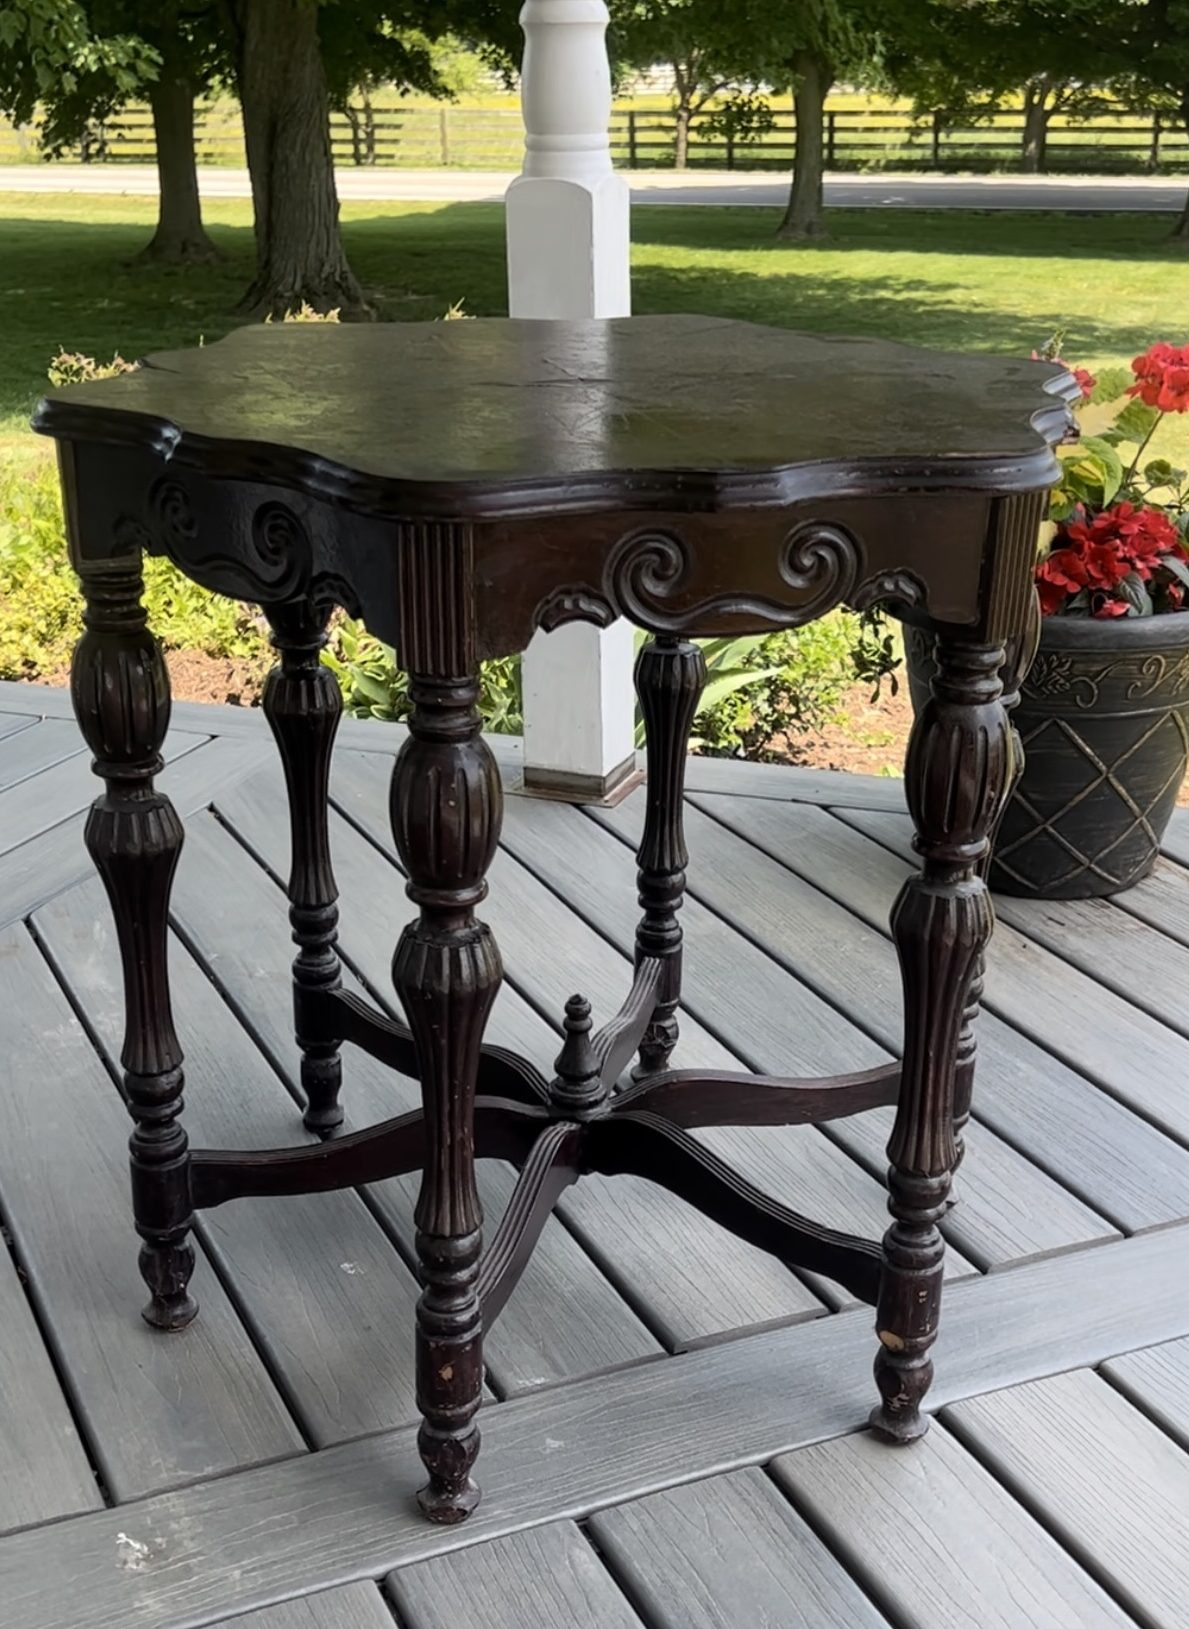
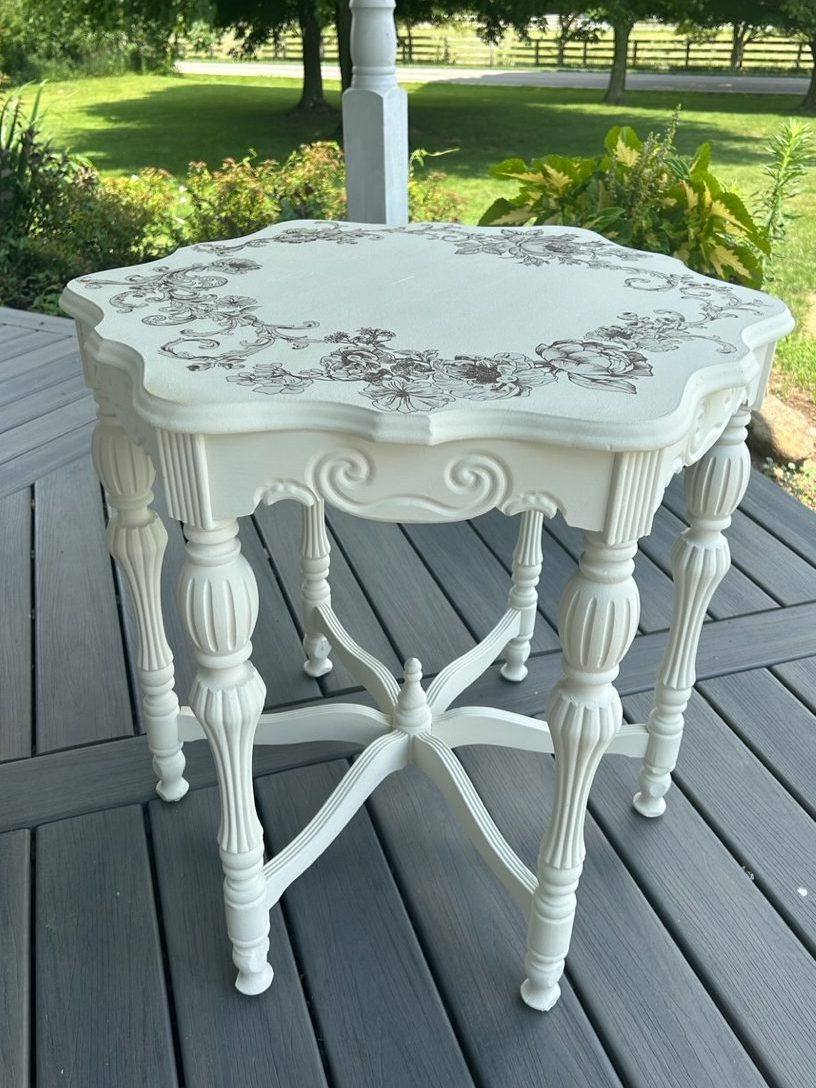
Hey lovelies! Check out this beautiful antique shabby chic table transformation! What an absolute blast this DIY project was. Below is a before and after picture, and I share some of the details of the process I went through to create this masterpiece.


The Before: A Chippy Table
I got this antique table in Facebook Marketplace. As soon as I picked it up, I knew that I wanted to shabby-chic it. The table had a few pieces of wood that were broken off, and the top layer of veneer was peeling off. The legs were very wobbly. It needed work, and I was very excited to transform it.
The Process: A Little TLC
Wow, what an absolute process this piece was! From the very start of cleaning the dirt and grease off of this antique, to finally rubbing on that transfer design. I must say, it was definitely worth the time and effort I put into it. Here are the steps I took to turn this chippy old piece of furniture into an antique & chic table:
- Cleaned off the dirt and grease.
- Tightened the legs.
- Peeled off the top layers of veneer (there were 2 or 3 layers!).
- Sanded the top down.
- Filled in the missing wood pieces with Bondo (with help from my dad, thanks dad!).
- Sanded the table top and legs.
- Applied 3 coats of cream chalk paint.
- Rubbed on the transfer.
- Sealed it with a wax finish
The Result: Antique, Elegant, & Chic
I absolutely love the way this antique and chic transformation turned out. The cream colored chalk paint goes perfectly with the style of the table. I learned a lot by transforming this unique piece. I plan to do more antique furniture transformations, so stay tuned and visit my page often! Thanks 🙂
2 responses to “Antique & Chic Table”
This table is gorgeous!!! Great transformation!
Thank you so much!